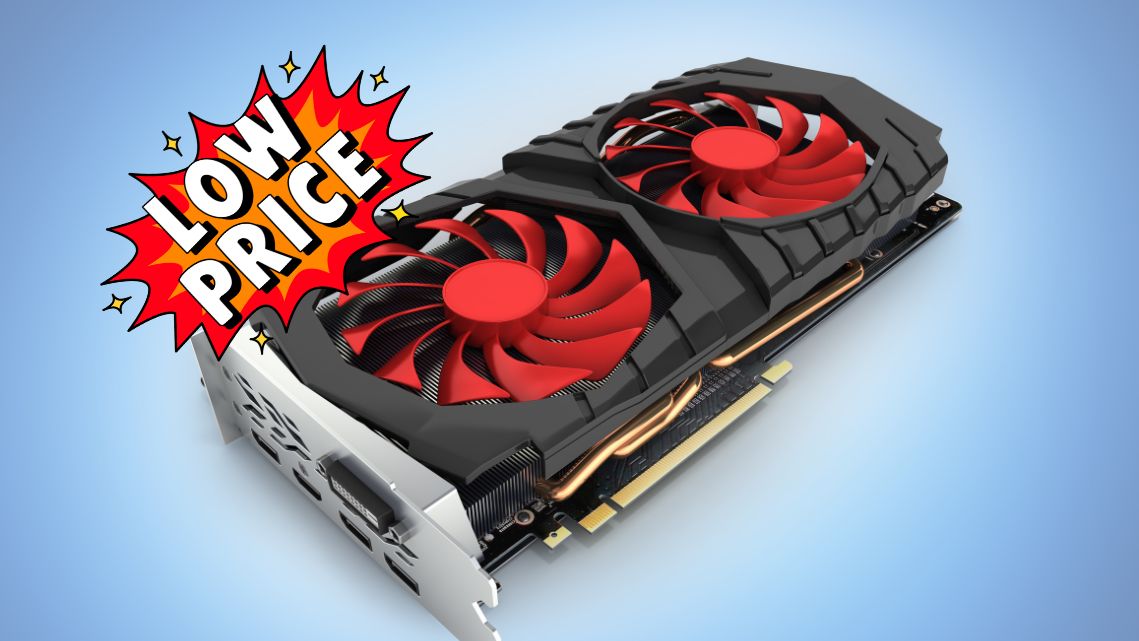
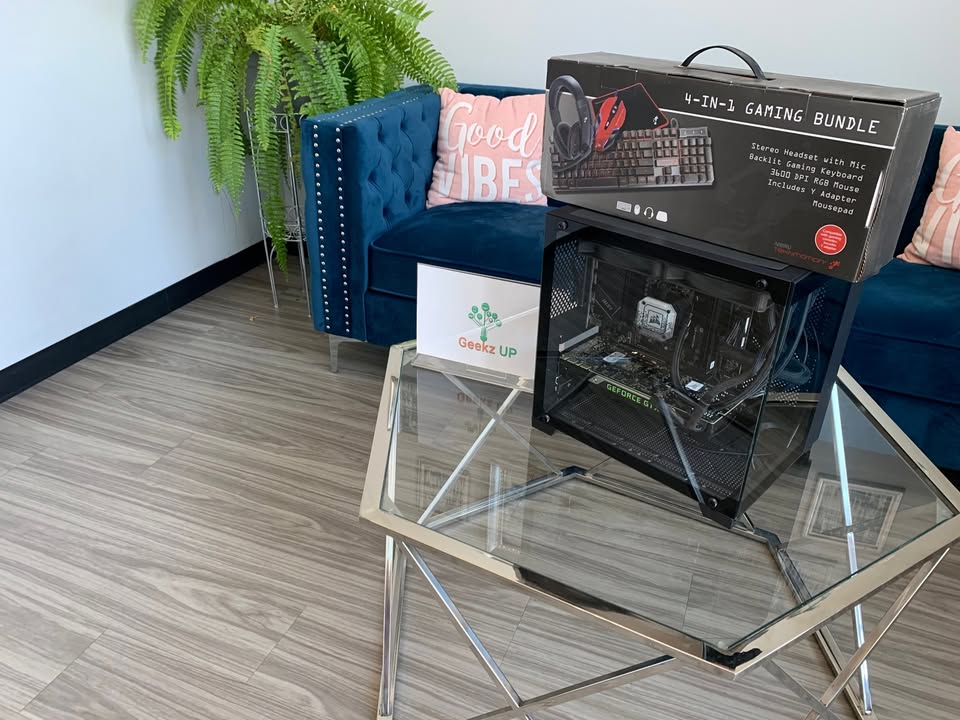
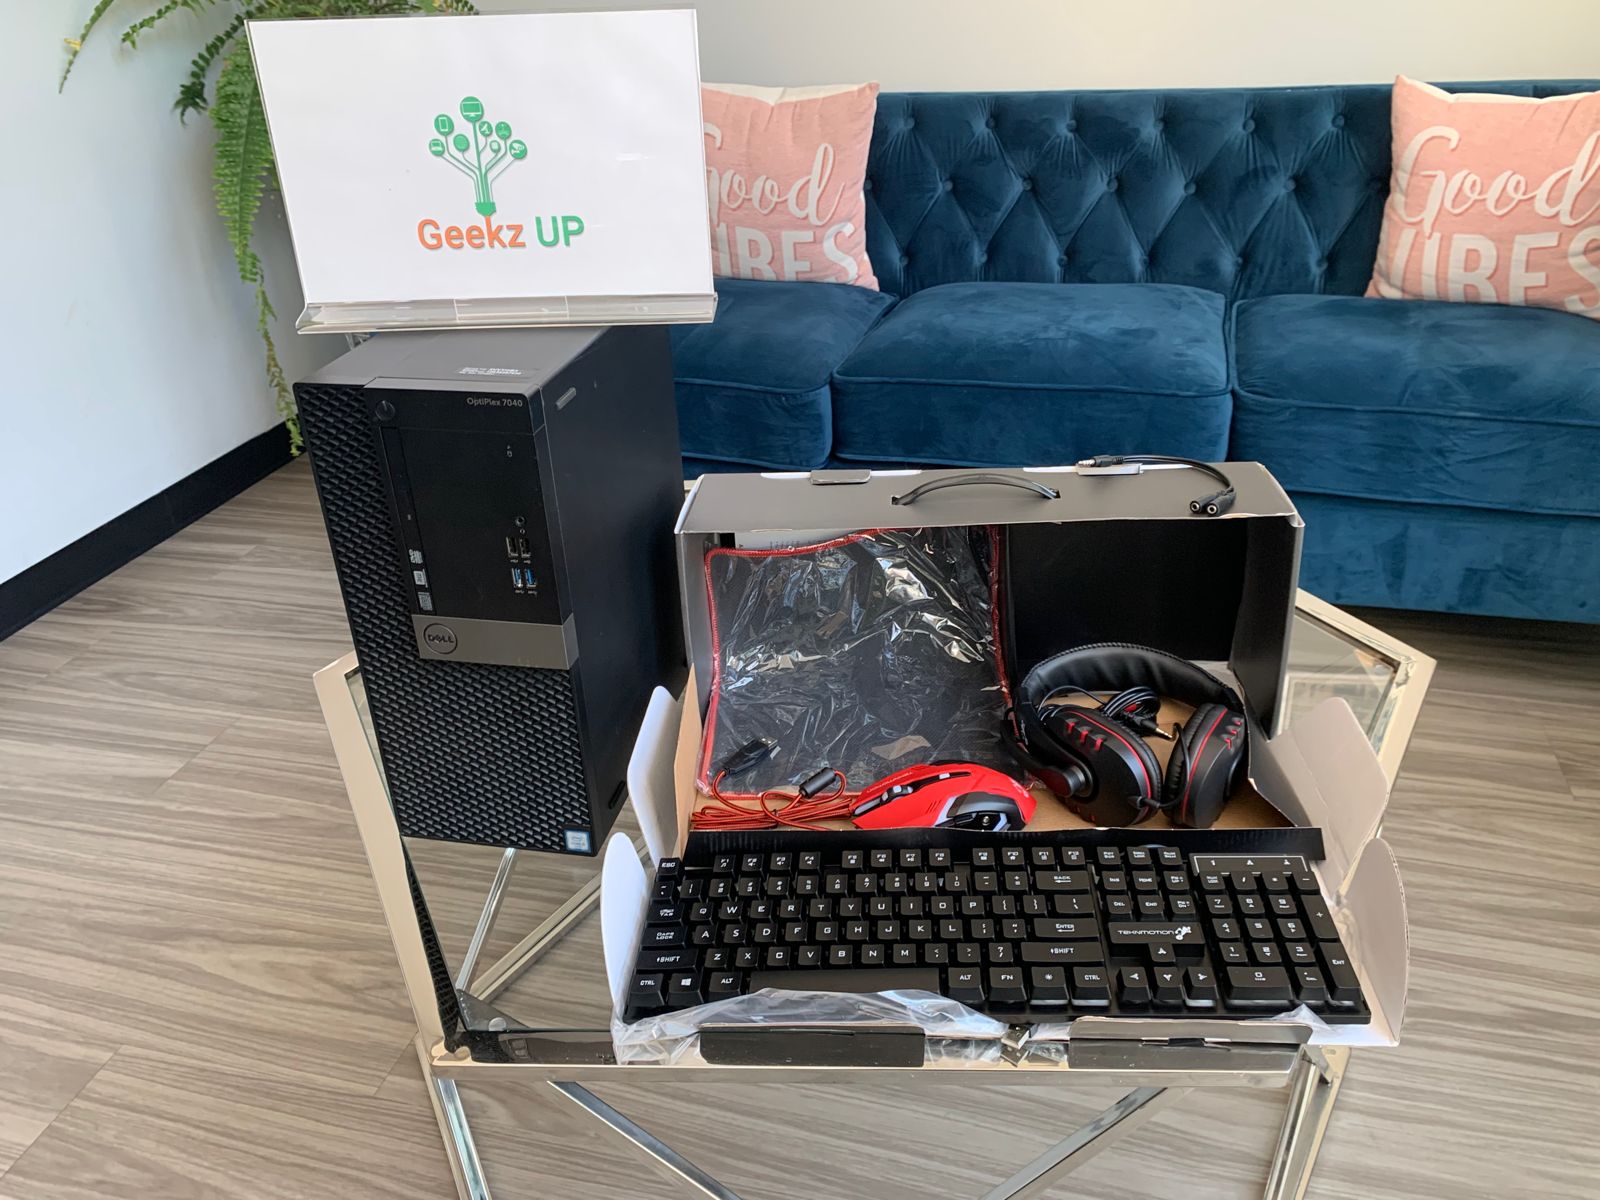
clean your computer's fans for better performance
Regularly cleaning your computer’s fans is essential for maintaining optimal performance and preventing overheating. Over time, dust and debris can accumulate on the fans, causing them to work harder and potentially leading to reduced airflow and increased temperatures. In this blog, we’ll guide you through the process of cleaning your computer’s fans to improve performance and prolong the lifespan of your system.
Before we begin, it’s important to note that the specific steps may vary depending on your computer model and fan design. Always refer to your computer’s manual or manufacturer’s instructions for guidance. Additionally, ensure your computer is powered off and unplugged before performing any cleaning procedures.
Gather the necessary tools
Compressed air canister or electric air blower: This will be used to blow away dust and debris.
Soft brush or lint-free cloth: To gently wipe away any stubborn dirt or residue.
Screwdriver: If necessary, to remove the computer’s side panel or access the fans.
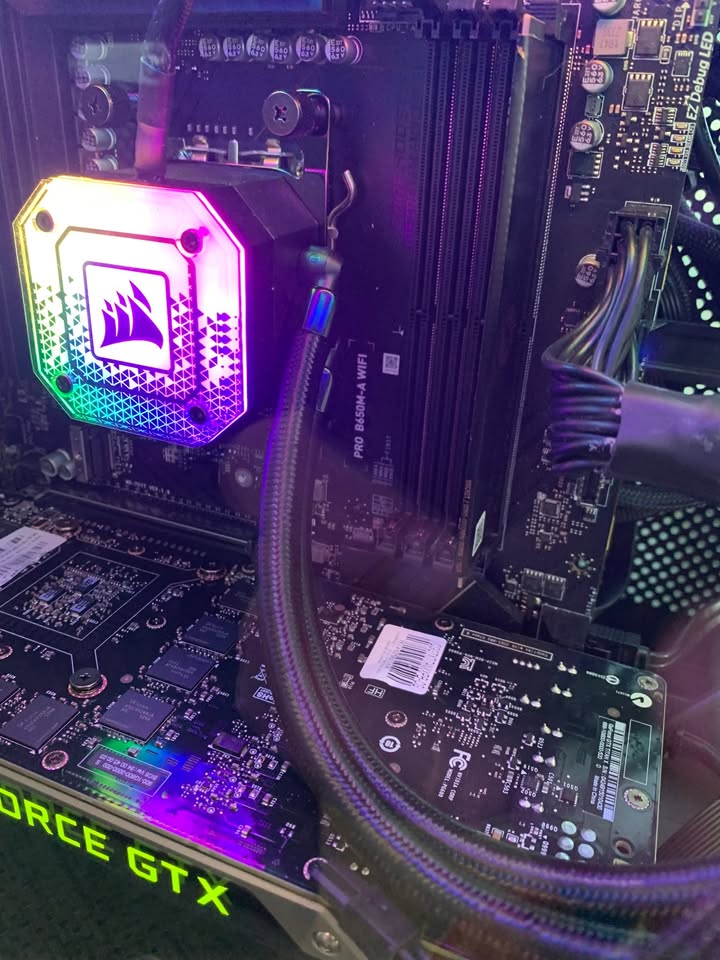
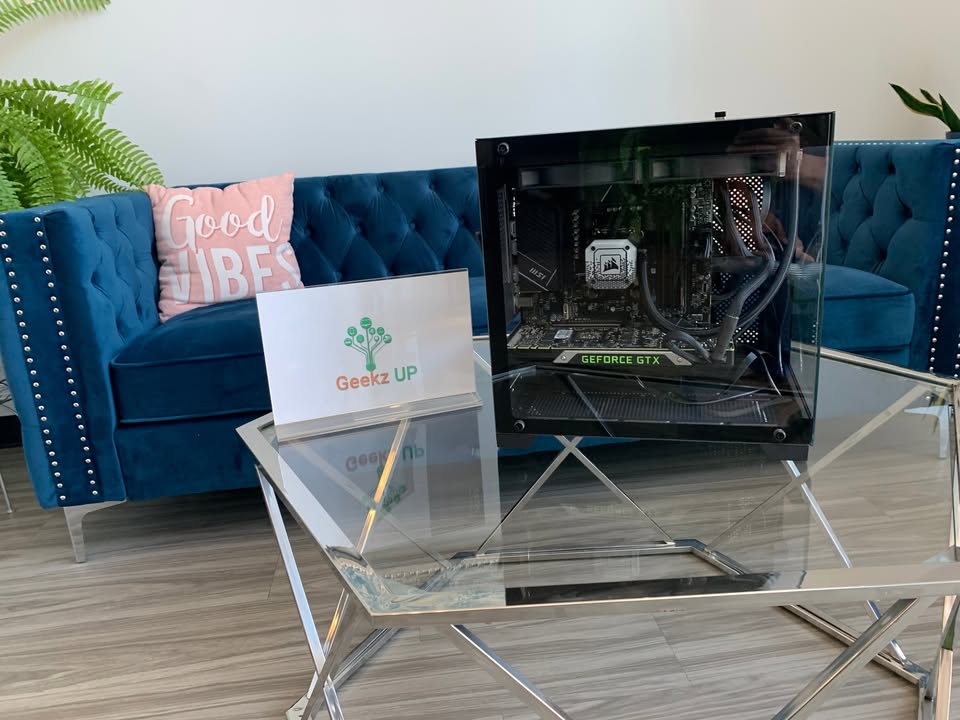
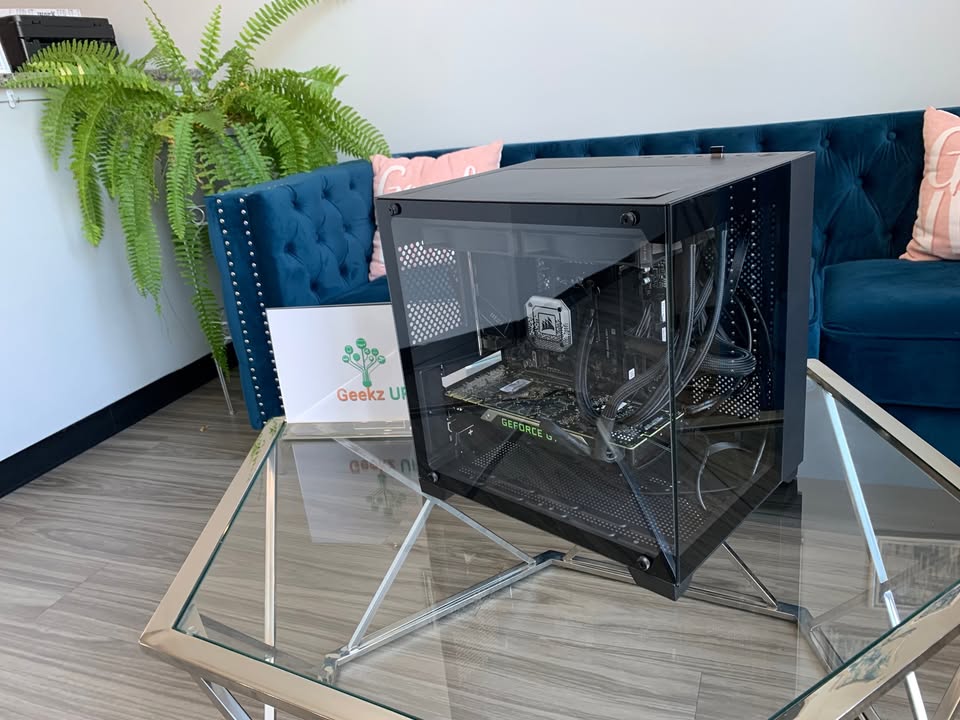
Open your computer's case
Locate the fans
Use compressed air to remove dust
Hold the canister of compressed air or air blower upright and away from your face.
Use short bursts of air to blow away dust from the fans, ensuring you target both the fan blades and the surrounding areas.
Pay attention to the fins of heat sinks, as they can accumulate significant dust. Direct the air flow through the fins to remove debris effectively.
Use a brush or cloth for stubborn dirt
Clean the computer case and filters
Reassemble and power on your computer
Once you’ve cleaned all the fans and the case, carefully reassemble any removed components and ensure everything is properly secured.
Power on your computer and monitor the fan operation. If you notice any unusual noises or persistent overheating, consult a professional for further assistance.


